1.13.2011

spinach turkey burgers

DSC_0431
So it's the new year and while I am still trying to detox from the holidays, I'm in search of healthy food, but also simple food.  December was for decadent dishes and in-the-kitchen-all-day recipes, but January, oh January, seems like the time to lighten and simplify.  I don't know if you can get more simple than these turkey burgers.  However, if you are still feeling the urge to be complicated, you could go crazy with toppings or even make your own buns.  However, I preferred topping these with all those little extra bites of things I had leftover in the refrigerator and because I have eaten enough carbs in the past couple of weeks to last me a lifetime, we went for a bunless version.  Hope your January is off to a great start.

From my little kitchen to yours... Enjoy.
DSC_0415

DSC_0421

DSC_0425
Spinach Turkey Burgers
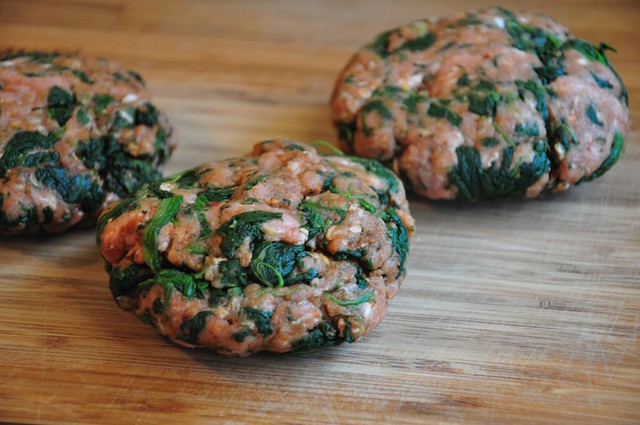
Makes 4 to 6 patties
Recipe Notes
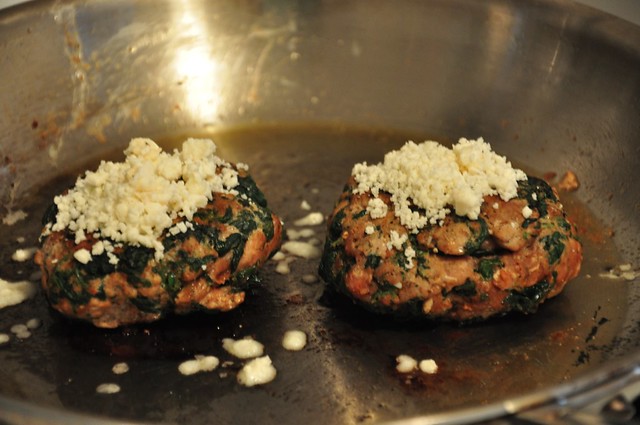
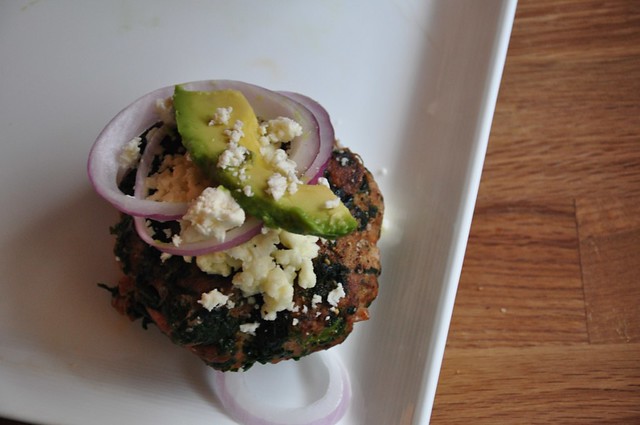
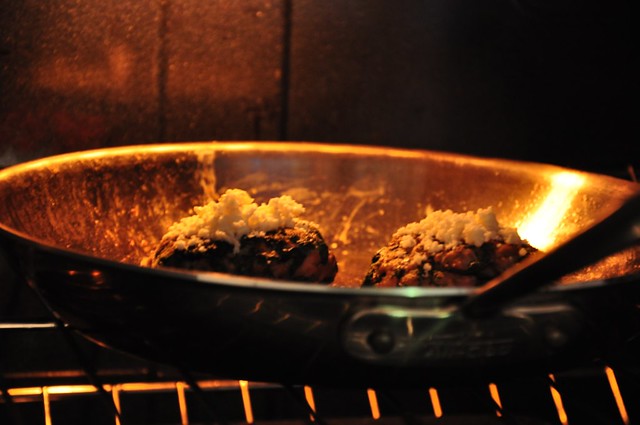
I topped these with feta cheese, avocado and sliced red onion.  If you choose to top yours with cheese as well, set the oven to broil, add cheese and place skillet in oven for just a few minutes until melted.  Add other toppings and serve... with or without a bun.  The easiest way to thaw the spinach is to follow the directions on the back of the package to microwave.  Make sure you drain spinach well.  This is easiest to do by wringing out the spinach in a clean dish towel.
Ingredients
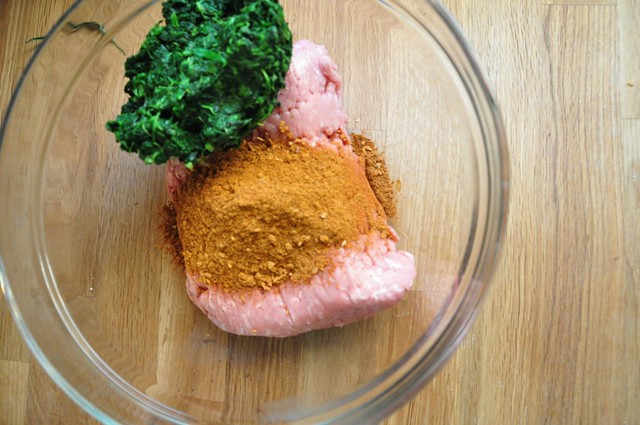
1 pound lean turkey meat (93 percent fat free)
1 package McCormick taco seasoning
1 10-ounce package frozen chopped spinach, thawed and drained well (see note above)
Topping Ideas: feta, avocado and red onion; cheddar cheese; tomato and goat cheese
Step by Step
In a medium sized bowl, mix together all three ingredients until well combined.  Form patties.  Heat a skillet over medium heat and spray lightly with a non-stick cooking spray.  Cook patties over medium heat until cooked through.  About 5 to 10 minutes on each side, until all pink is gone from the turkey meat.  (If you have meat thermometer, use it to help you get to the exact temperature, 165 degrees).  See recipe notes for toppings.
DSC_0422

1.10.2011

little kitchen resolutions

I'm really not a big January 1st resolution type person.  When there is something I want to do or accomplish, I usually try to start right then instead of coming up with a heaping list of ideas on January 1st that I usually cannot even remember by February 1st.  However,  I do have a few goals in the kitchen and I am hoping by posting them, it will help me stay accountable and track my progress.  So here they go...

1. Take a cake decorating class... I love this cake.  Probably won't be attempting something so grand, but I love the simple yet perfect texture of the icing.
cake


2.  Make perfect roasted chicken... sounds like a great go-to meal.
roast chicken


3.  Practice icing sugar cookies... aren't these dreamy? Sure would love to take a class here.
cookie


4.  Grow more of the food I eat... details about my garden coming soon.
garden


5.  Find a great whole wheat pizza crust.
pizza dough


6.  Cook with at least one new seasonal vegetable  that I have never experimented with.  First up... sweet potatoes.
sweet potatoes


7. Learn to make one perfect, delicious, but not too difficult loaf of bread.


photo credits:

If I somehow manage to get all of these checked off somewhat soon, then I will add, but I'm quite comfortable starting with a manageable list.

Do you have any kitchen resolutions this year?  Or anything you would like to see tried in the little kitchen?


1.08.2011

big BIG bummer.

Happy New Year everyone.  It's not too late to say that, right?  It's taken me awhile to come back here partly because I was busy celebrating the holidays, but partly because I am quite saddened about what has happened to this little blog.

Long story short... I have erased quite a few of my pictures from past posts and will not be able to retrieve them.  If you use flickr, then read what happened to me below so it doesn't happen to you, but for the rest of you, I won't bore you with the details.  Thank you to some of the readers who emailed me about this problem and after much effort, I will not be able to get them back.  Thankfully I didn't erase all of them, but  I am taking some time to work out a new way to store photos.  If anyone has any great suggestions on how to store lots of pictures somewhere other than your computer, please share. In the meantime, I'll be back soon with a really great couscous recipe, but I just needed to vent first.

my flickr faux pas...
I purchased a flickr pro account so that I could store an unlimited amount of photos on flickr.  I upload pictures from iphoto on my mac using the flickr uploader in iphoto.  Over the holidays, I decided to clean out a lot of pictures from my computer to free up some memory, thinking they would forever be on flickr.  And since I was serious about freeing up space, I deleted them and then deleted them permanently (ugh).  A week later, a reader (hi Pamm) emailed me about my photos being gone.  Well, turns out, when you use the flickr uploader, it is simple a mirror image of your iphoto library.  So, if you delete a picture in iphoto, it is deleted from flickr.  Which for me, defeats the purpose all together because I wanted to use flickr to free up space on my computer. Anyway, after being outraged and feeling wronged that flickr never told me this, I have moved on and I am just thankful I didn't go too crazy and erase everything.  I'm  now in the process of finding a better place for my photos and will slowly work on re-photographing food that I lost.  I hope someone out there can learn from my mistake.